Are you a plant enthusiast looking to propagate your Pilea plant? Perhaps you’ve heard about cutting the top off your Pilea and wondering if it’s a viable method for propagation. Well, you’ve come to the right place! In this article, we will explore the intriguing question, “Can I cut the top off my Pilea?” and provide you with detailed insights, tips, and step-by-step instructions to successfully propagate your beloved Pilea plant.
Understanding Pilea Plants
One common issue that can arise with Pilea is a leggy growth pattern. This occurs when the plant has insufficient light and stretches out in an attempt to reach more. If you notice your leggy pilea, it may be time to consider cutting the top off. Before doing so, be sure to provide your Pilea with adequate light to prevent this issue from occurring again. Remember, a healthy and thriving Pilea is a happy Pilea!
Pilea plants are native to China and are part of the Urticaceae family. They typically grow up to 12 inches tall and feature round, coin-shaped leaves that add a touch of elegance to any space. With the right care, Pilea plants can live for several years, making them an excellent addition to your indoor plant collection.
Propagation Methods for Pilea Plants
When it comes to propagating Pilea plants, there are a few different methods you can choose from. These include division, stem cuttings, and, yes, cutting the top off your Pilea. Each method has its own advantages and success rate, so let’s explore how cutting the top off your Pilea can lead to successful propagation.
The Process of Cutting the Top Off Your Pilea
Cutting the top off your Pilea is an effective way to encourage new growth and propagate the plant. Here’s a step-by-step guide to help you navigate through the process:
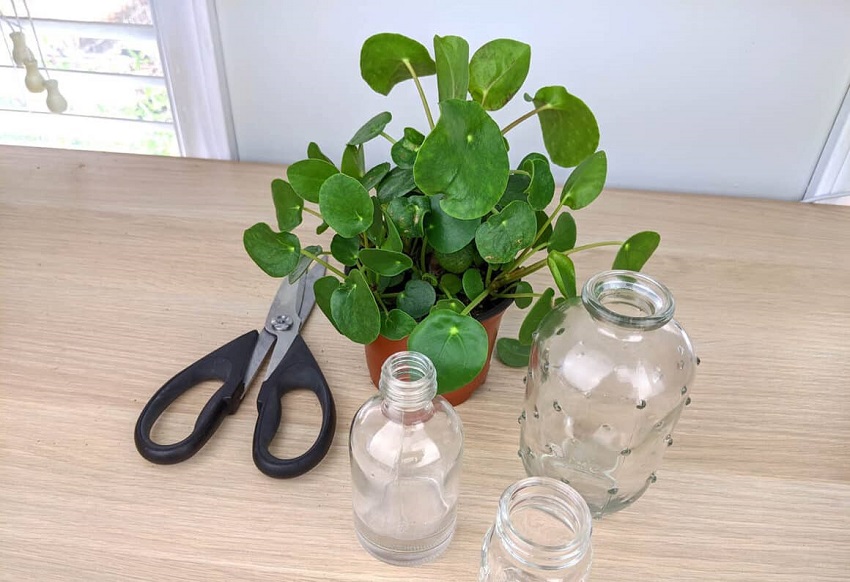
Step 1: Gather the Necessary Tools
To ensure a successful propagation, it’s important to gather the tools you’ll need. You will require a clean pair of pruning shears or sharp scissors, a clean container with well-draining soil, and some water.
Step 2: Choose a Healthy Plant
Identify a healthy Pilea plant that you wish to propagate. Ensure that it’s free from diseases, pests, or any other issues that may hinder successful propagation.
Step 3: Prepare the Cutting
Carefully cut the top part of the Pilea stem just below a leaf node using your pruning shears or scissors. A leaf node is the point where a leaf attaches to the stem. Make sure the cutting is at least a few inches long to provide enough space for new roots to develop.
Step 4: Remove Lower Leaves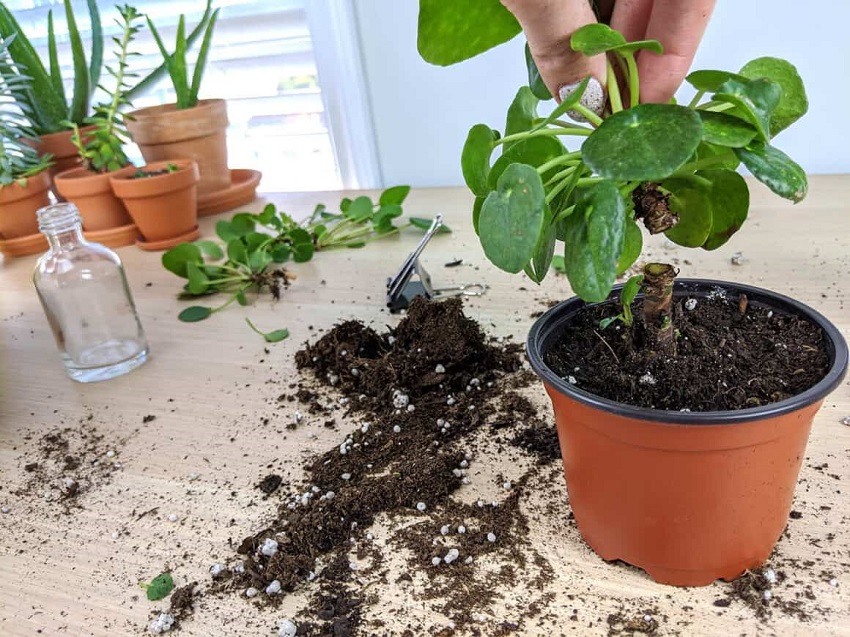
Once you have the cutting, remove the lower leaves, leaving only a few leaves at the top. This helps the plant conserve energy and focus on root development.
Step 5: Plant the Cutting
Take the prepared cutting and gently insert it into a container filled with well-draining soil. Make sure to bury the stem deep enough to provide stability and encourage root growth. Water the soil lightly to moisten it.
Step 6: Provide Optimal Conditions
Place the container in a location that offers bright, indirect light. Avoid placing it in direct sunlight, as it can scorch the cutting. Maintain a consistent temperature between 65-75°F (18-24°C) and ensure proper humidity levels to support healthy growth.
Step 7: Monitor and Care for Your Cutting
Regularly check the soil moisture and water when it feels slightly dry to the touch. Avoid overwatering, as it can lead to root rot. Keep an eye on the cutting for signs of growth, such as the development of new leaves or root systems.
Step 8: Transplanting the Cutting
After a few weeks or once the cutting has established roots and new growth, you can consider transplanting it into a larger pot with well-draining soil. Continue providing the necessary care, and soon you’ll have a thriving Pilea plant that originated from cutting the top off its parent plant!
Conclusion
Cutting the top off your Pilea can indeed be a successful method for propagating this beautiful houseplant. By following the step-by-step instructions outlined in this article, you can increase your chances of a thriving propagation process. Remember to gather the necessary tools, choose a healthy plant, prepare the cutting, plant it in well-draining soil, and provide optimal conditions for growth. With patience and care, you’ll witness new leaves and roots sprouting, resulting in a new Pilea plant to cherish.