Owning a swimming pool can be a dream come true for many homeowners. There’s nothing quite like having your own personal oasis right outside your back door for summertime fun and relaxation. However, pools require regular maintenance and care to keep them sparkling clean and operational. One of the most common issues pool owners face is a leak in the vinyl pool liner.
Finding and repairing a liner leak yourself can save you the expense and hassle of calling in a professional repair service. With some detective work, patience, and the right tools and materials, even pool maintenance novices can troubleshoot and fix liner leaks. Here is a comprehensive guide to how to find a leak in a pool liner.
Signs You Have a Pool Liner Leak
The first step is identifying that you even have a leak. Some signs your pool liner is compromised include:
- Lower than normal water level – The most obvious red flag is when the water level in your pool is consistently lower than usual, even when accounting for normal water lost due to splashing, evaporation, or your pool’s filter system. A liner leak will result in a noticeable drop in water level over time.
- Failure to hold water – If your pool is losing several inches of water or more overnight or when left unattended for a few days, a leak is likely to blame.
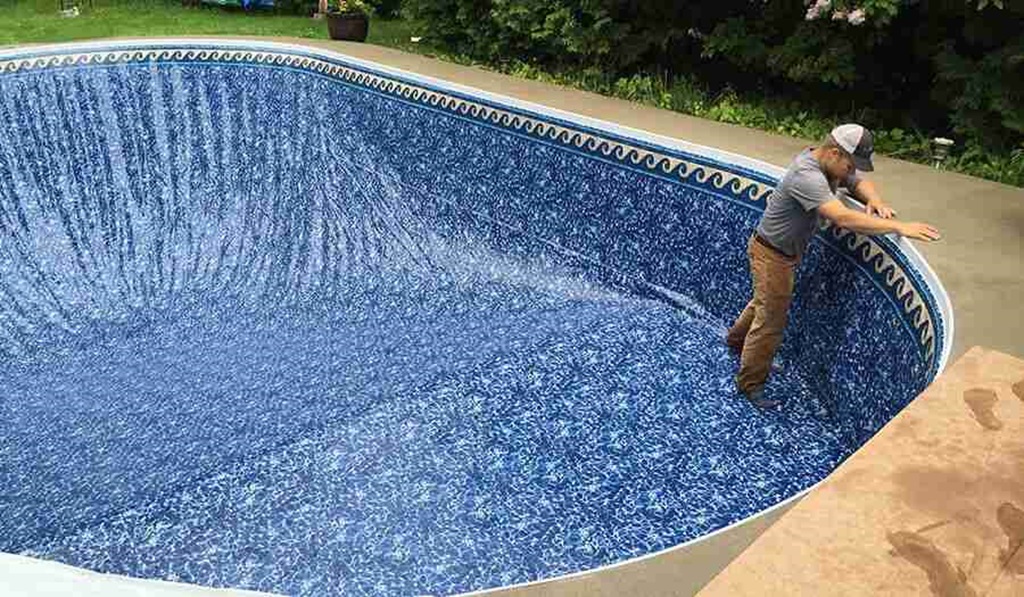
- Soft spots or pooling water on the liner – Visually inspect the pool floor and walls for areas where the vinyl seems to sag, bubble up, or puddle water. This indicates a thin spot or hole in the liner.
- Wet spots around the pool perimeter – Walk the perimeter of the pool and look for any wet or soggy areas in the surrounding ground. Leaking water will drain beneath the liner and pool coping and eventually emerge around the pool’s outer foundation.
- Rising water table – Over time, a leak can cause the local groundwater table to rise and pool around and under the leaking pool or even backfill inside it.
If any of these signs point to a liner leak in your pool, it’s time to start investigating so you can repair it. Ignoring a leak will only result in more water loss, property damage, environmental concerns, and costly repairs down the road.
How to Find the Exact Location of the Leak
Pinpointing where exactly your liner is leaking is key to an effective repair. Here are some detective skills and tips for isolating the source:
1. Conduct a Visual Inspection
Start by walking around the entire pool interior and perimeter and visually inspecting the liner. Look for any of the following:
- Holes, rips, cracks, or punctures in the vinyl
- Soft spots, wrinkles, or bubbles on the pool floor or walls
- Discoloration or algae clusters which can indicate small pinholes
- Water pooling in certain spots
- Damaged or loose tiles, steps, fittings, or wall attachments that could be allowing water in behind the liner
Inspect around the top edge of the pool where the liner hangs over the wall. Leaks commonly occur where the liner is exposed.
Use a flashlight to peer into tight corners and angles around steps and fittings. Leaks often form around or under these rigid pool structures.
2. Mark and Measure Water Loss
If your visual inspection didn’t reveal the leak source, the next step is to mark and measure how much water is actually escaping from your pool.
Shut off any water features, automatic fill valves, or pool cleaning systems. Then use a felt tip marker to carefully mark the current water line on the interior pool walls all the way around the perimeter.
Wait 24 hours without adding any water to the pool. After 24 hours, check the water level and measure how much it has dropped below your marked line. This will tell you about how much water loss you’re experiencing daily.
Also make notes around the pool perimeter to spot any areas where new wetness appears after 24 hours.
3. Conduct a Dye Test
If you know about where the leak is occurring based on where water is accumulating outside the pool, but can’t see the actual hole, a dye test can pinpoint the source.
Simply mix a few ounces of food coloring or laundry dye into a gallon of water. With the pool pump running to circulate the water, slowly pour the dyed water into the suspected problem area and watch closely to see where it emerges.
Use a few different colors and test multiple areas if needed until you spot where the colored water is exiting the pool. Mark the area so you can find it again later.
4. Try a Pressure Test
For slow, small leaks that are difficult to isolate, conducting a pressure test on the liner may be needed.
Contact a pool leak detection company to schedule a professional pressure test. They will insert air between the pool liner and concrete shell then increase the pressure incrementally while monitoring for drops or bubbles emerging through liner holes.
This is the most accurate way to reveal the presence and location of tiny leaks. Expect to pay $200 or more for a professional leakage inspection and pressure test.
5. Check Around Fittings, Pipes and Hoses
Leaks around pool fittings like skimmer boxes, return jets, main drains and wall fittings are very common. Carefully inspect the gaskets and O-rings around these underwater fixtures.
Loose fittings or cracked pipe connections to pool equipment can also cause leaks. Check the plumbing for drips or moisture around joints and connections.
Examine around hoses attached to pool cleaning equipment or automatic pool fill valves. A hole in the hose or faulty connection is often the culprit when leak symptoms persist but no liner holes can be found.
6. Listen for Water Running
For mysterious leaks that you can’t pinpoint visually, use your ears. Go down into the pool late at night when all is quiet. Turn the pool pump and filtration system off completely. Sit still and listen closely for the faint sound of running water.
Trace noises to determine where water may be infiltrating behind the liner. It’s often easier to hear leaks at night when background noise is minimized.
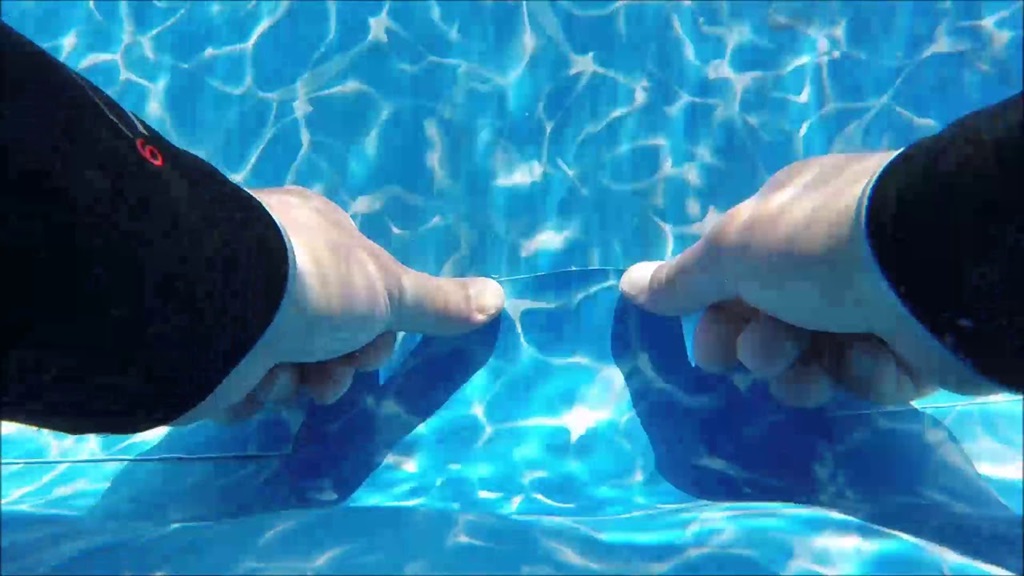
7. Check the Liner Seams
Don’t overlook the hidden seams fusing sections of the vinyl pool liner. When two liner pieces are welded together, even the tiniest gaps or holes in the seams allow water to leak in between the liner and sub-base toward the ground.
Very carefully peel the liner away where sections are joined and look for gaps or holes in the seams, especially near the pool floor. Any compromised fusion points in the seams must be fully patched and sealed.
Finding the source of a leak takes some time, effort and good detective work, but it’s a necessary step before repairs can begin. Once you’ve pinpointed the area that’s causing water loss, it’s time to prep the liner for patching.
Preparing the Liner for Repair
After you discover the leak location, proper preparation of the liner is crucial for an enduring fix. Here are some key steps:
- Scrub away algae growth at least 12 inches around the leak using a stiff algae brush and chlorine or algaecide. This prevents re-growth under the patch.
- Thoroughly clean and dry the area so it’s free of dirt and debris which could prevent adhesion.
- Carefully roughen the vinyl surface around the leak using 60 grit sandpaper. This helps the patch bond better.
- Cut away any loose flaps or lifted edges around rips and holes using a sharp utility knife.
- Apply a vinyl liner primer to chemically prepare the surface for maximum patch adhesion.
- Cut your repair patch at least 2 inches wider than the hole in all directions. Round off corners to avoid peeling.
Proper cleaning, roughing up, and priming the damaged liner sets the stage for a high-quality, long lasting repair.
How to Repair Pinhole and Small Leaks
Tiny holes and punctures less than 1⁄4 inch across are the most common liner leaks. It’s relatively easy to fix these small holes using vinyl patch glue with a little preparation.
Here are the steps for patching pinholes and small slits:
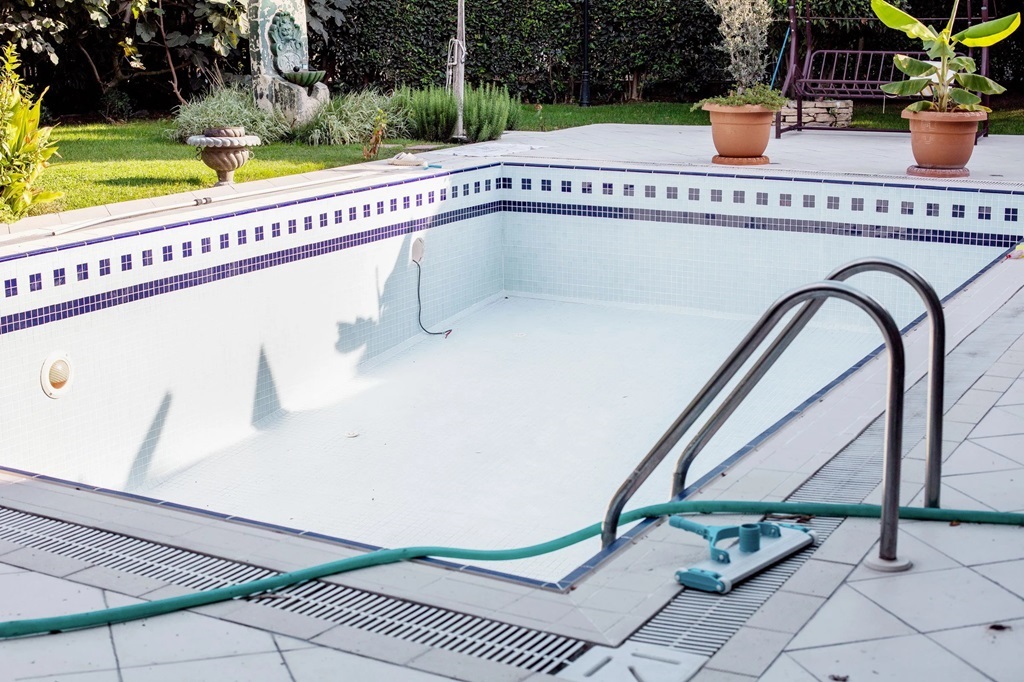
1. Drain the Pool
Repair adhesives bond best when applied to dry surfaces so you’ll get better results if you can fully drain the pool below the leak point. If draining is not possible, mark the hole’s location with a weighted object then remove as much standing water as you can using submersible pumps.
2. Clean and Rough the Area
Use a stiff-bristled scrub brush and chlorine to thoroughly clean at least 12 inches around the leak to remove algae and oils. Next, lightly rough up the vinyl using 60-80 grit sandpaper to help the adhesive grip.
3. Apply Vinyl Primer
Use vinyl patch primer to chemically prepare the sanded area around the hole for bonding. Let the primer dry completely.
4. Cut a Round Patch
Trace a circle around a coin, jar lid or other object to cut a round vinyl patch at least 2 inches wider than the pinhole in every direction. Round off the corners so they don’t peel up later.
5. Apply Adhesive
Spread two coats of high-quality vinyl patch glue over the roughened area extending at least 2 inches past the leak in all directions. Also coat the back of your pre-cut patch. Allow each adhesive coat to dry tacky.
6. Apply the Patch
Carefully align the patch over the hole and press firmly over the entire area to bond it permanently in place. Smooth with a roller to maximize adhesion strength.
7. Seal the Edges
Apply a bead of glue around the edges of the patch to seal and waterproof the repair perimeter. Smooth the glue with a disposable popsicle stick. Allow to fully cure for 12-24 hours.
8. Re-fill the Pool
When the patch has fully cured, re-fill the pool. Closely monitor the water level for 1-2 weeks to ensure no additional leakage occurs around your patch.
By following these steps, even novice DIYers can permanently seal small liner punctures and enjoy leak-free pool time again.
How to Patch Larger Holes and Tears
Larger rips, holes bigger than 1⁄4 inch across, or long splits require a more heavy duty patch repair. Carefully enlarging the hole to create clean edges, using adhesive vinyl sheeting, and welding a professional patch improves durability.
Follow these tips for patching larger liner holes:
1. Drain and Clean Thoroughly
Removing the standing water allows you to work on a dry surface. Scrub aggressively with chlorine and a stiff algae brush to removeresidue that could impede bonding.
2. Cut Away Raggedy Edges
Use a sharp razor knife and ruler to cut away uneven flap edges and create clean lines around the hole. Cut an oval or round shape rather than an angular slit for better integrity.
3. Cut a Generous Patch
Trace around a bowl or jar lid to cut a rounded vinyl patch at least 4 inches wider than the hole on all sides. Bigger is better for maximum overlap and adhesion.
4. Roughen the Vinyl
Use 60-80 grit sandpaper to scuff up the liner surface around the leak so the adhesive can grip better. Wipe away dust with a damp cloth.
5. Weld or Adhere the Patch
Carefully follow instructions to solvent weld vinyl using THF solvent and a vinyl patch welder tool. You can also use a two-part epoxy vinyl patch glue if you don’t have welding supplies. Apply two coats for best leakage protection.
6. Check Bonding Frequently
Inspect around the patch edges after 24 hours for any gaps or lifting that could allow water to seep through. Re-glue any loose areas until fully sealed.
7. Re-fill and Monitor Water Level
When the patch holds securely after a day or two, refill the pool. Verify water level stays constant over the next few weeks to ensure a watertight seal.
For damage greater than 12 inches long, it’s wise to call a professional. Skill is required to weld large patches perfectly to prevent lifting, tearing or leaks down the road.
How to Find and Fix Liner Leaks Around Pool Fittings
Leaks around skimmer boxes, return fittings and main drains are extremely common in aging pools. The rigid plastic or metal fittings constantly move against the flexible vinyl, compromising waterproof seals over time.
Finding and repairing leaks around pool fittings involves these steps:
1. Remove Fittings
If you spot water bubbling out around a return fitting or main drain, shut off power to the pool pump before unscrewing the fitting. Pry off skimmer faceplates and disconnect all pipes and hoses. Remove the affected fitting fully to access the liner behind it.
2. Inspect and Clean
Examine the empty fitting groove for holes, gaps, or deterioration of the surrounding vinyl liner. Scrub away all algae and mineral deposits from the walls and flooring around the fitting.
3. Cut Away Bad Liner
Use a razor knife to carefully cut away any portions of the liner that are too damaged or brittle to patch. Removing weak spots helps the repair hold up better long-term.
4. Glue or Weld a Patch
Cleanly weld a vinyl patch over any holes or voids around the fitting. Be sure to overlap the solid liner area at least 4 inches on all edges for a reliable seal. Let cure fully.
5. Re-install the Fitting
Position the pool fitting back into its groove in the liner. Apply plumber’s putty or silicone around the back side and screw tightly in place to compress the sealant. Caution – do not over tighten!
6. Seal the Fitting exterior
Apply a bead of marine sealant around the outside perimeter of the replaced fitting to waterproof the newly patched liner area. Smooth with a popsicle stick. Allow to cure overnight before refilling pool.
Taking the time to correctly patch and re-seal leaking fittings prevents continual leakage issues after liner repairs.
How to Find and Fix Liner Leaks Around Skimmer Boxes
Skimmer boxes are prone to springing leaks where they connect to the vinyl liner. The rigid plastic housing allows water to seep between the liner and pool wall. Finding and fixing skimmer leaks involves:
1. Empty the Skimmer
Start by removing the skimmer lid and basket so no debris falls into the plumbing when detached. Disconnect all hoses and pipes from the skimmer housing.
2. Uninstall the Skimmer Box
Remove all screws or bolts securing the skimmer frame to the pool wall. Gently pry the skimmer box away from the vinyl liner to expose the back side.
3. Inspect for Damage
Check the skimmer housing aperture for any gaps, cracks, holes, or deterioration of the liner material that could allow water to escape. Note any weak spots to patch.
4. Clean the Surfaces
Use a chlorine and scrub brush combo to thoroughly clean the exposed liner around the skimmer cavity. Remove all algae and mineral deposits that could prevent adhesion.
5. Apply Skimmer Sealant
Run a thin bead of waterproof polyurethane pool skimmer sealant around the interior of the skimmer box frame where it contacts the liner. This seals the critical junction.
6. Attach Patches
Weld or adhere vinyl patches over any holes, rips or thin spots you noted around the skimmer cutout. Allow all sealants and adhesives to cure fully before re-installation.
7. Re-Attach the Skimmer
Press the skimmer frame firmly back into place against the newly sealed liner. Re-install all screws and bolts to secure it tightly to the pool wall. Refill pool and check for leaks.
With some diligent prep and sealing, a leaky skimmer-liner junction can be repaired for the long haul. Monitor the area closely and re-apply sealant if any moisture re-appears.
Tips for Preventing Liner Leaks
The best way to deal with liner leaks is to avoid them completely through proper liner care and replacement. Here are some tips to minimize leaks:
- Inspect liner closely each season for small holes and deterioration. Repair immediately before leaks enlarge.
- Maintain proper pool chemistry to prevent algae blooms which can weaken or discolor vinyl.
- Drain and clean liner fully at least once a year to remove damaging oils and mineral deposits.
- Avoid dragging pool cleaning tools or toys over vinyl which can scratch, abrade and puncture.
- Use floating chlorine dispensers, not tablets which sit on the liner.
- Keep pets’ nails trimmed to avoid accidental claw punctures.
- Replace the liner within 10-15 years before advanced aging causes cracks and leakage.
- Hire a professional installer each time you replace the liner to ensure no hidden folds, gaps or improper seaming.
With some diligent inspections, careful use, and liner replacement before major aging occurs, you can minimize frustrating and costly liner leaks.
FAQs
What is the fastest way to find a pool liner leak?
The most effective method is a professional pressure test which involves pumping air underneath the liner until the leak source bubbles up through the water. Only takes about an hour.
What can I use to temporarily seal a small liner leak?
As a very short term fix, you can try applying a Underwater Repair Putty. Force it into the hole and it will harden to stop leakage for 1-2 weeks max.
Should I drain the pool to patch a liner leak?
Ideally yes, you should drain below the leak point to thoroughly dry the liner and allow adhesives to cure properly. If draining is not possible, lower water level as far as you can while patching.
How long does a vinyl pool liner last?
On average, vinyl liners last 5-15 years before needing full replacement. Proper chemical care and maintenance extends liner life significantly. Light colors last longer than dark liners.
Can I patch a hole at the bottom of the pool floor?
Yes, floor leaks can be patched successfully if you lower the water level below the leak so adhesive fully cures before refilling.