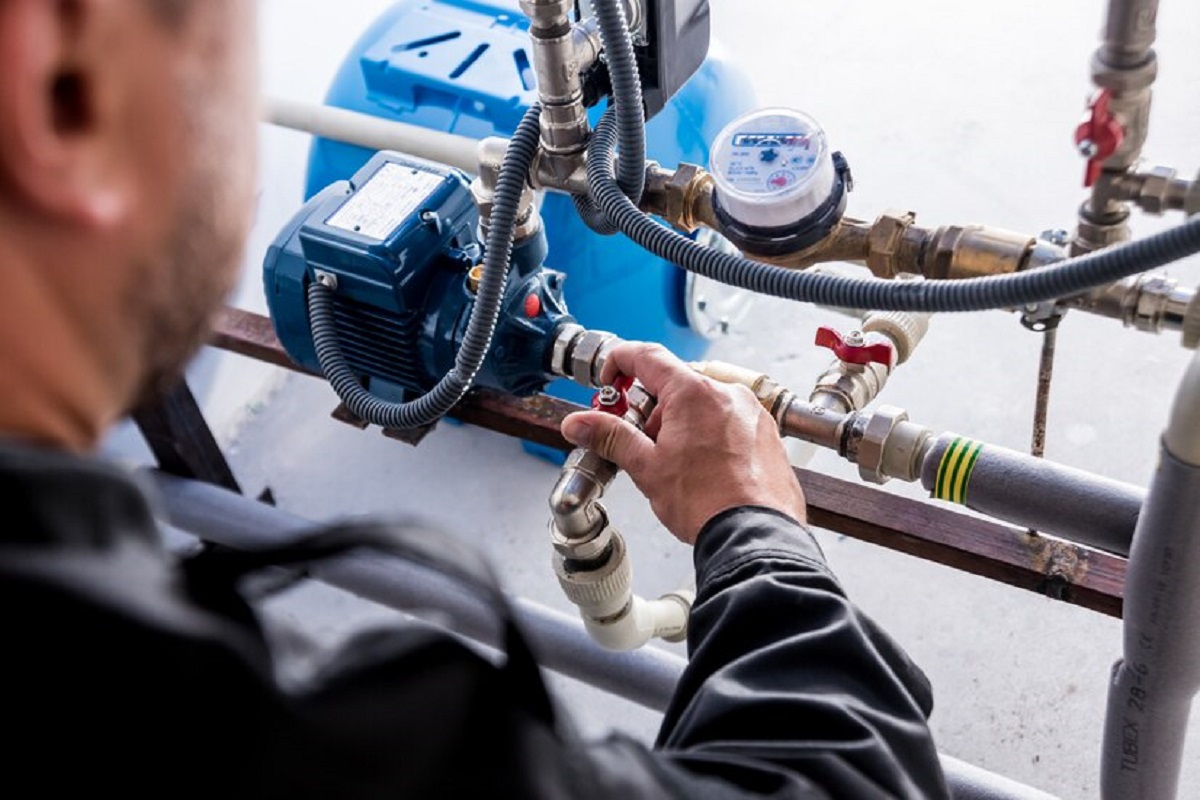
In this comprehensive guide, we’ll walk you through the step-by-step process of installing a pressure switch for well pump. Whether you’re a seasoned DIY enthusiast or a newbie looking to tackle this task, our aim is to make it as simple as possible. We’ll avoid jargon, use a conversational tone, and provide you with practical insights.
Understanding the Pressure Switch
Before we dive into the installation process, let’s grasp the basics of a pressure switch. This device is essential for controlling the operation of your well pump, ensuring it turns on and off at the right pressure levels. Discover how to reset well pump?
What You’ll Need
To get started, gather the following tools and materials:
- Pressure Switch Kit: Purchase a pressure switch kit compatible with your well pump model.
- Wrenches and Pliers: You’ll need these for tightening and securing connections.
- Pipe Thread Tape: Ensure a tight seal for threaded connections.
- Electrical Tape: Used for securing electrical connections.
- Screwdriver: For attaching wires to the pressure switch.
Step-by-Step Installation Guide
Now, let’s get into the nitty-gritty of installing the pressure switch for your well pump.
1. Safety First
Before beginning any work, ensure your well pump is turned off at the breaker panel. Safety goggles and gloves are also recommended.
2. Identify the Old Pressure Switch
If you’re replacing an old pressure switch, locate it and disconnect it from the power source.
3. Preparing the Installation Site
Choose an appropriate location for the new pressure switch. It should be close to the pressure tank and easily accessible for maintenance.
4. Disconnect Power
Switch off the power to your well pump at the breaker panel. This is crucial for your safety during installation.
5. Remove Old Pressure Switch
Using wrenches and pliers, carefully disconnect the old pressure switch from the pipes and electrical connections.
6. Apply Pipe Thread Tape
Wrap pipe thread tape clockwise around the threads of the pipe that will connect to the pressure switch.
7. Install the New Pressure Switch
Attach the new pressure switch to the well piping and secure it tightly with wrenches.
8. Electrical Connections
Connect the wires from the pressure switch to the power source using the appropriate wire connectors. Ensure a snug fit and use electrical tape to secure the connections.
9. Adjusting the Pressure Settings
Most pressure switches have adjustable settings. Follow the manufacturer’s instructions to set the desired pressure range for your well pump.
10. Testing
Switch the power back on and test the well pump to ensure it turns on and off at the correct pressure points.
Conclusion
Congratulations! You’ve successfully installed a pressure switch for your well pump. This essential component ensures that your well pump operates efficiently and effectively, providing you with a reliable water supply. After successfully installing a pressure switch for your well pump, ensuring efficient water supply, don’t forget to check for any signs of dishwasher air gap leaking to maintain your plumbing system’s overall integrity.
FAQs
- Can I install a pressure switch myself if I have no prior experience?
Yes, you can, but it’s important to follow safety precautions and the manufacturer’s instructions carefully. If you’re uncertain, consider consulting a professional.
- What should I do if my well pump doesn’t turn off or on correctly after installation?
Double-check your wiring and pressure settings. If the issue persists, consult a technician.
- Is it necessary to turn off the power to my well pump during installation?
Absolutely. Safety should always come first when working with electrical components.
- Can I use any pressure switch with my well pump?
It’s essential to use a pressure switch that is compatible with your well pump model for optimal performance.
- How often should I check and maintain my pressure switch?
Regular maintenance is essential. Check it at least once a year for signs of wear or malfunction.

