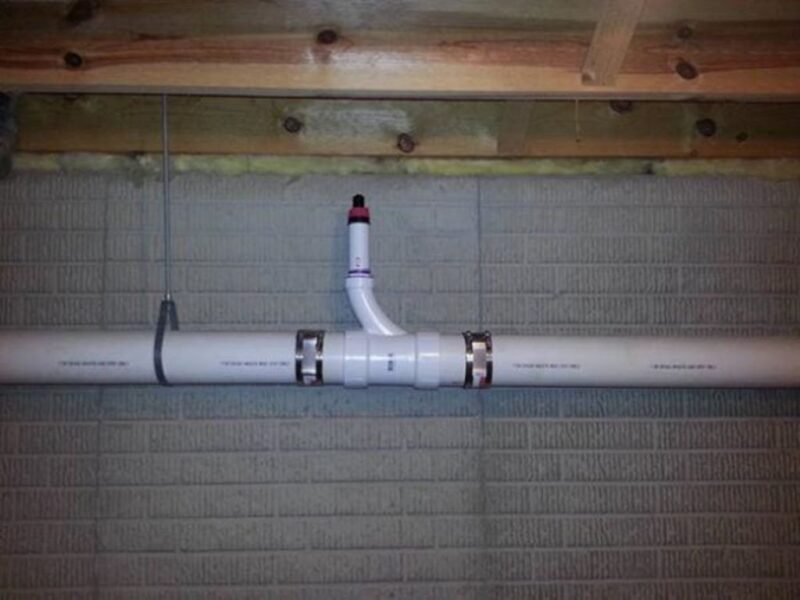
A step-by-step guide to installing wye fittings: Slip a coupling on each end of the existing drain pipe, pushing them up to make room for the new wye assembly. Place the wye fitting between the couplings and connect them securely.
Understanding Wye Fittings
Learn how to install wye fittings with this step-by-step guide. Discover the proper techniques to ensure a successful installation of these plumbing components. Avoid common mistakes and achieve a professional result.
headings, examples, lists, etc.
What Are Wye Fittings?
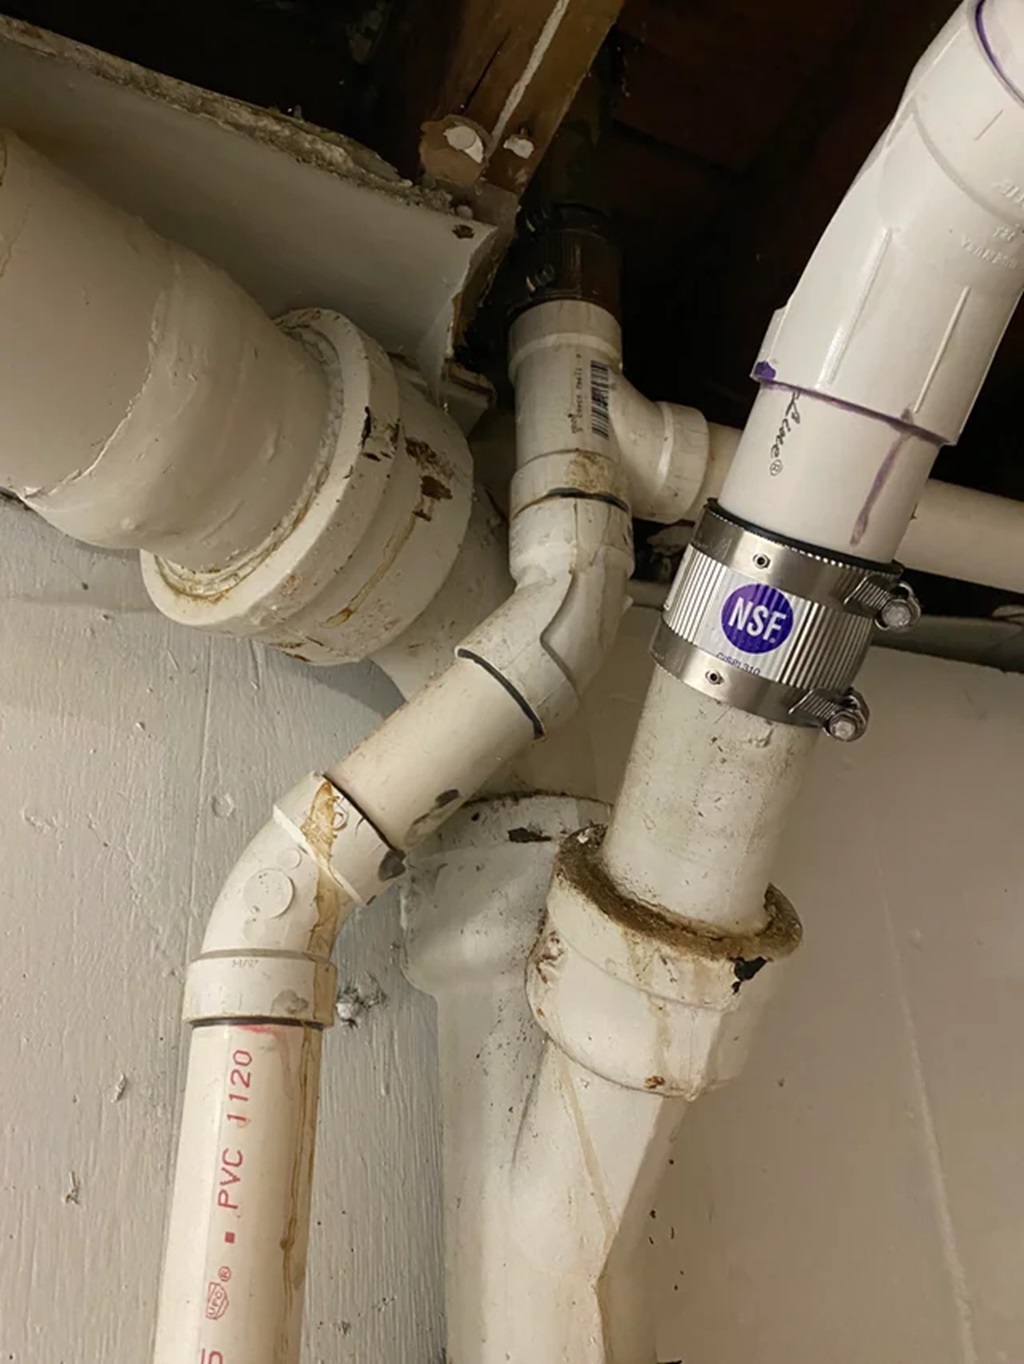
Wye fittings are essential components used in plumbing systems to connect pipes at a Y-shaped intersection. They have three openings, with one inlet and two outlets positioned at a 45-degree angle. These fittings are commonly used in drainage systems to divert wastewater from one pipe into two separate drain pipes.
Differences Between Wye Fittings And Sanitary Tees
While both wye fittings and sanitary tees are used in plumbing systems, there are important distinctions between the two. Wye fittings have a Y-shaped configuration and two outlets at a 45-degree angle, making them suitable for redirecting flow in drainage systems. On the other hand, sanitary tees feature a T-shaped design with a single outlet perpendicular to the main inlet, which is better suited for vertical connections and venting.
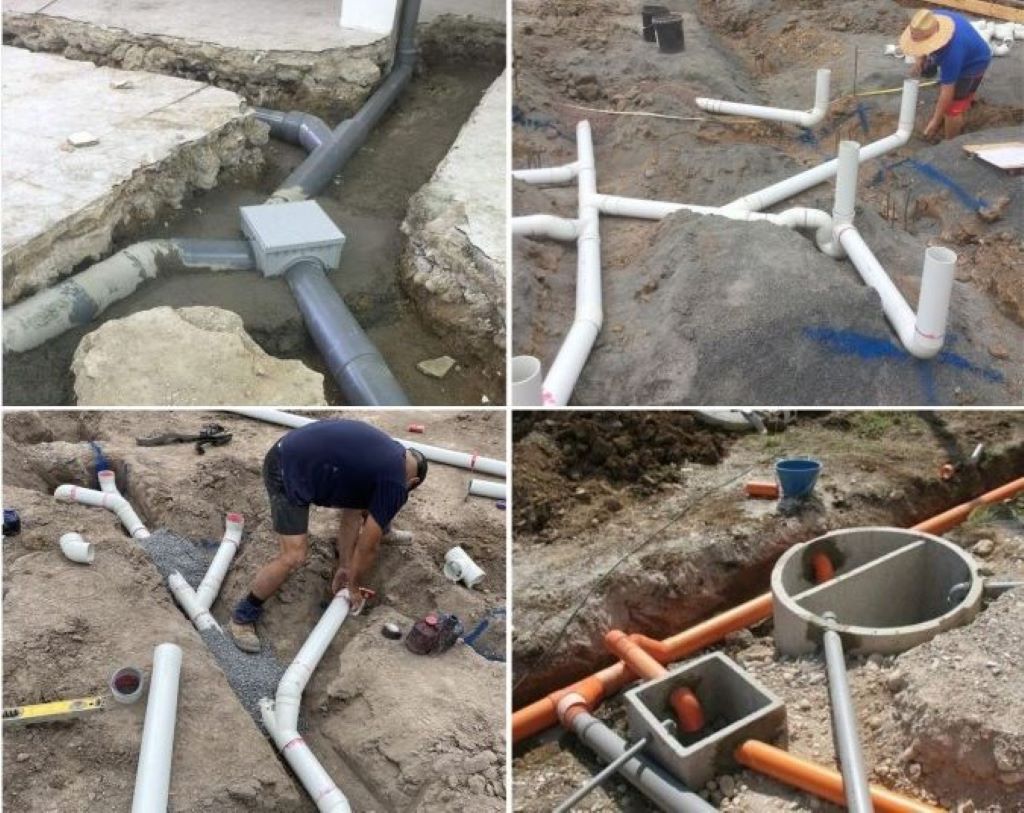
Use Cases For Wye Fittings
Wye fittings have various applications in both residential and commercial plumbing systems. Here are some common scenarios where wye fittings are used:
- Connecting a kitchen sink and dishwasher drain to a main pipe
- Diverting wastewater from a utility sink or laundry machine into separate drain pipes
- Integrating plumbing vents into the drainage system to eliminate potential odor issues
Overall, understanding wye fittings is essential to ensure proper installation and maintenance of plumbing systems. By knowing their purpose, differences from sanitary tees, and use cases, you can make informed decisions when it comes to implementing these fittings into your plumbing projects.
Step-by-step Guide To Installing Wye Fittings
Installing wye fittings is an essential step in plumbing projects when you need to divert flow into two separate directions. Whether you are replacing an old fitting or adding a new one, following a step-by-step guide can ensure a successful installation. In this article, we will walk you through the process of installing wye fittings, from gathering the necessary tools and materials to testing for leaks.
Gathering The Necessary Tools And Materials
Before you start the installation process, it’s important to gather all the tools and materials you’ll need. Here’s a list of what you’ll typically require:
- Wye fitting
- Pipe cutters
- Degreasing solvent
- PVC primer
- PVC cement
- Measuring tape
- Marker or pencil
- Rag or paper towels
Preparing The Existing Pipe
Once you have gathered all the necessary tools and materials, it’s time to prepare the existing pipe for the wye fitting installation. Here are the steps to follow:
- Start by shutting off the water supply to the pipe you will be working on.
- Clean the outside of the existing pipe using a rag or paper towels.
- Measure the length of the wye fitting to determine the amount of pipe that needs to be removed.
- Mark the cutting point on the pipe using a marker or pencil.
- Using pipe cutters, cut the pipe at the marked point. Make sure to cut it straight and clean up any burrs.
- Apply degreasing solvent to the ends of the existing pipe and wipe away any dirt or debris.
Installing The Wye Fitting
With the existing pipe prepared, it’s time to install the wye fitting. Follow these steps:
- Apply PVC primer to the outside of the existing pipe and the inside of the wye fitting.
- Apply PVC cement to the primed areas.
- Align the wye fitting with the existing pipe and firmly push it into place.
- Hold the fitting in position for a few seconds to allow the cement to set.
Securing The Connection
To ensure a secure connection and prevent leaks, follow these steps:
- Wipe away any excess PVC cement using a rag or paper towels.
- Allow the cement to dry and cure for the recommended time specified by the manufacturer.
- Inspect the connection for any visible cracks or gaps.
- If necessary, apply additional cement to any areas that require reinforcement.
Testing For Leaks
After securing the connection, it’s crucial to test for leaks before completing the installation. Here’s what you should do:
- Turn on the water supply to the pipe.
- Observe the connection closely for any signs of leakage.
- If you notice any leaks, turn off the water supply, remove the wye fitting, and repeat the installation process with fresh PVC cement.
- If there are no leaks, you can proceed with the rest of your plumbing project.
Following this step-by-step guide will ensure a successful installation of wye fittings in your plumbing project. Remember to take the necessary safety precautions and refer to the manufacturer’s instructions for any specific guidance related to the wye fitting you are using.
Common Issues And Troubleshooting
Learn how to install wye fittings step-by-step with this comprehensive guide. Avoid common issues and troubleshoot any problems along the way. Perfect for DIY plumbing projects in Austin, Texas, and beyond.
Common Problems With Wye Fittings
While installing wye fittings can be a straightforward process, there are some common issues that may arise. Understanding these problems and how to troubleshoot them is essential for a successful installation. Here are some of the most common problems you may encounter:
- Leaking: One common issue is leaking at the joints of the wye fittings. This can happen if the fittings are not properly sealed with plumber’s tape or adhesive. It is important to ensure a tight and secure connection to prevent leaks.
- Clogging: Another problem that may occur is clogging in the wye fittings. This can be caused by debris or buildup in the pipes. Regular maintenance and cleaning can help prevent clogging and keep the fittings functioning properly.
- Incorrect installation: Improper installation of wye fittings can lead to problems down the line. It is crucial to follow the manufacturer’s instructions and ensure that the fittings are correctly aligned and connected.
Fixing Issues With Wye Fittings
If you encounter any problems with your wye fittings, here are some troubleshooting steps you can take to fix the issues:
- Tighten the connections: If you experience leaking, check if the connections are tight. Using a wrench, carefully tighten the fittings to create a secure seal. Be cautious not to overtighten, as it can damage the fittings.
- Clean the fittings: In the case of clogging, remove the wye fittings and clean them thoroughly. Use a pipe brush or a plumbing snake to remove any debris or buildup. Once cleaned, reassemble the fittings and ensure a proper connection.
- Reinstall correctly: If you suspect that incorrect installation is causing the issues, disassemble the fittings and reinstall them following the manufacturer’s instructions. Pay attention to the alignment and connection of the fittings to ensure a proper fit.
Alternative Solutions
If you continue to experience problems with your wye fittings or want to explore alternative solutions, consider the following options:
- Using different fittings: Depending on your specific plumbing needs, there may be alternative fittings that can better suit your requirements. Consult with a plumbing professional to determine the best fittings for your situation.
- Upgrading the pipes: If you consistently encounter issues with your current plumbing system, it may be worth considering upgrading your pipes. Newer materials and techniques can offer improved functionality and durability.
- Regular maintenance: To prevent future issues with your wye fittings, establish a regular maintenance routine. This includes periodically inspecting and cleaning the fittings, as well as addressing any small problems before they escalate.
Frequently Asked Questions Of A Step-by-step Guide To Installing Wye Fittings
How Do You Install A Wye Fitting?
To install a WYE fitting, follow these steps: 1. Slide a coupling onto each end of the existing pipe. 2. Push the couplings up enough to accommodate the new WYE assembly. 3. Insert the WYE fitting into place. 4. Make sure it is securely fastened.
5. Use duct seal to ensure a tight seal. This step-by-step guide will help you easily install a WYE fitting for your plumbing needs.
Can A Wye Be Installed Horizontally?
Yes, a wye can be installed horizontally.
Is A Wye Fitting The Same As A Sanitary Tee?
A Wye fitting is not the same as a sanitary tee.
What Angle Is A Wye Connection?
A wye connection does not have a specific angle as it is a Y-shaped pipe fitting. It is used to connect pipes or fittings at an angle of 45 degrees or 90 degrees.
Conclusion
To wrap up, installing wye fittings can seem daunting at first, but by following this step-by-step guide, you can easily navigate the process. Remember to gather all the necessary materials, measure and cut the pipes accurately, and secure the fittings tightly.
By doing so, you can ensure a leak-free and efficient plumbing system. When tackling the task of snaking a drain, don’t be afraid to seek professional help if needed; however, with a bit of patience and the right tools, you can successfully navigate the twists and turns of the plumbing system, much like installing wye fittings, ensuring a smoothly functioning drain.
Happy plumbing!