Installing a new door frame may seem intimidating, but it’s a straightforward DIY project that anyone can tackle with suitable materials and techniques. A properly installed door frame improves the look of your home, increases energy efficiency, and boosts curb appeal.
In this comprehensive guide, I’ll walk you through the entire building process and installing an interior or exterior door frame from start to finish. You’ll learn to measure and mark the rough opening, select suitable materials like wood or metal, cut and assemble the frame pieces, shim, and square the frame, install the door jamb and stops, hang the door, and finish with trim and caulking.
By the end of this DIY guide, you’ll have the knowledge, skills, and confidence to build and hang a door by yourself. Let’s get started!
What You’ll Need
- Measuring tape
- Pencil
- Circular saw, or miter saw
- Drill/driver
- Hammer
- Wood chisel
- Level
- Utility knife
- Caulk gun
- Safety equipment (glasses, ear protection, etc.)
Explore the vertical crack above the door frame.
Door Frame Materials

- Pre-hung door unit or separate door slab and frame
- Wood boards (2×4, 2×6, etc.) for rough framing
- Pressure-treated lumber or exterior plywood for exterior doors
- Interior door jambs and stops
- Shims
- Finish nails, screws, and adhesives
- Wood putty and wood filler
- Caulk
- Door trim and casing
How to Measure for a New Door Frame
Accurate measurements are crucial for a properly fitting door frame. Here’s how to measure an existing opening or plan new construction:
- Existing Opening: Remove any trim or moldings. Measure the width at the top, middle, and bottom. Do the same for the left, right, and center height. Use the narrowest width and shortest height.
- New Construction: Outline the rough opening on the floor and walls. Measure width and height as above. The rough opening should be 1/2″ to 3/4″, more significant than the door size, to allow room for shimming and squaring.
- Door Size: Standard interior doors are 30″ or 32″ wide by 80″ high. Exterior doors range from 30″ to 36″ wide and 80″ to 84″ tall. Make sure your measurements match one of the standard door sizes.
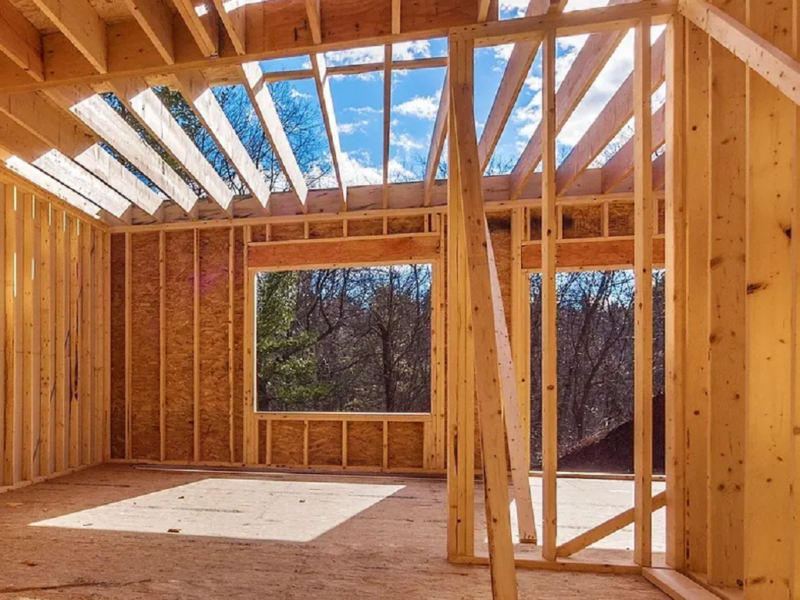
How to Frame a Rough Opening
Framing the rough opening ensures the walls are ready for the new door frame. Follow these steps:
Mark the Opening
- Use your measurements to mark the location and size of the rough opening on the subfloor and walls.
- Outline with chalk lines or lumber. This will be your guide.
Build the Header
- Cut two pieces of 2×10 or 2×12 to span the width of the opening.
- Nail or screw them together to create a robust and rigid header.
Cut the King and Jack Studs
- King studs run from floor to header at each end.
- Jack studs support the header between the king studs.
- Cut 2×4 or 2×6 studs to length so king studs extend past the header.
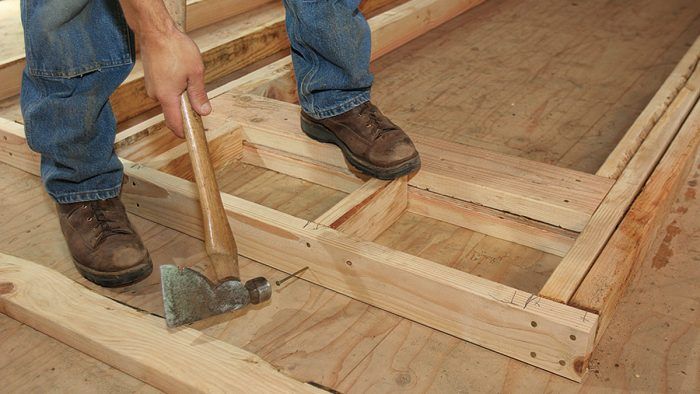
Install the Frame
- Set king studs and nail to wall plates and floor.
- Nail header to king studs.
- Install jack studs with nails or screws.
Add Additional Framing
- Include cripple studs for extra strength above or below the window.
- Install sill support under the rough opening.
How to Install a Pre-Hung Door
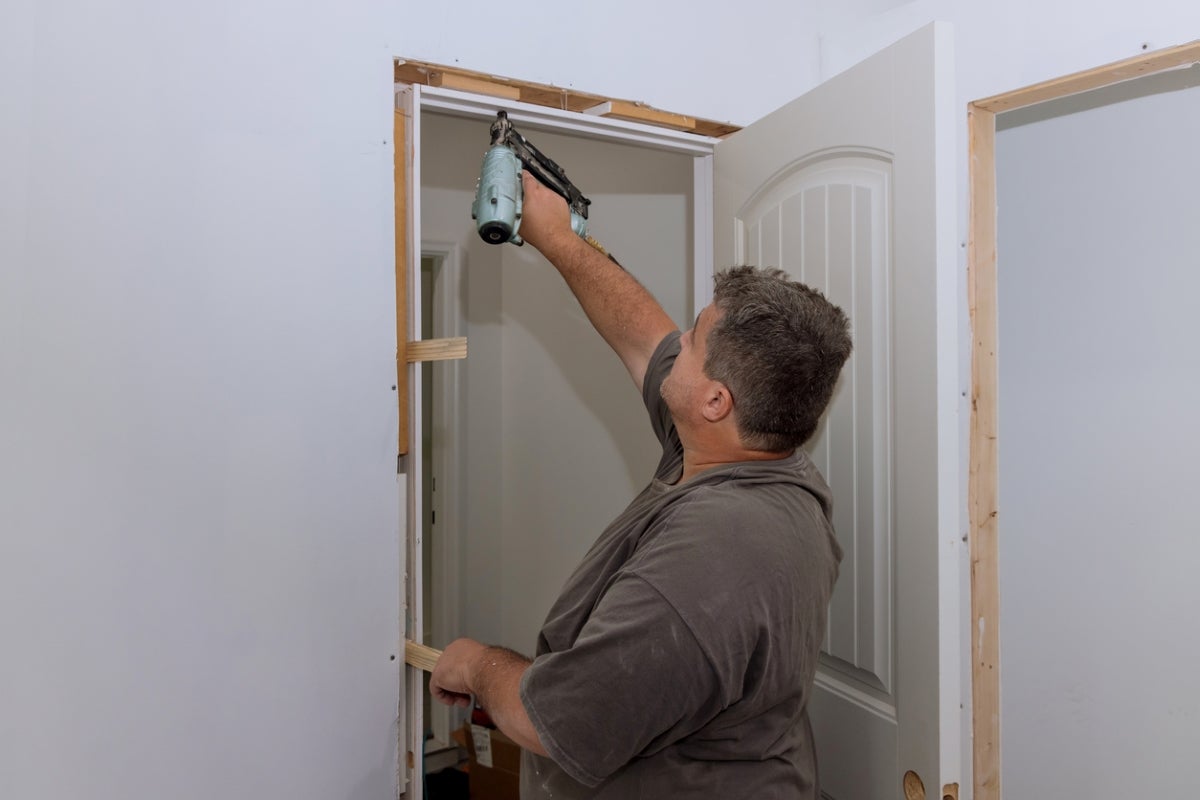
Pre-hung doors come with sides, header, and sill assembled in a door frame for easier installation. Here are the steps:
Set the Unit in the Opening
- Have a helper hold the door in the rough opening while you shim and fasten it.
Shim Under the Door Sill
- Use tapered shims to fill gaps between the sill and the floor. Tap them in snugly.
Check Level and Plumb
- Use a level on the sides and top to adjust shims until the door unit is perfectly plumb and level.
Anchor the Frame
- Drill pilot holes through the jambs into the studs. Drive 3-inch screws into the king and jack studs.
Adjust Final Shims
- Make any final shim adjustments for an even frame reveal before tightening screws.
Install Stops
- Nail or screw door stops into place on the inside to hold door in jamb.
Hang the Door
- Install hinges first, then set the door into place and install locks, knobs, weatherstripping, etc.
How to Build a Wood Door Frame from Scratch
For a custom look or unique size, you can build a door frame yourself piece-by-piece:
Cut the Jamb Pieces
- Cut 2x stock to the rough opening height for the side jambs.
- Cut the header and sill pieces to the width of the opening.
Assemble the Frame
- Lay out all pieces and screw or nail them together at the corners. Check for square.
- Use wood glue for added strength. Clamp until dry.
Install in the Rough Opening
- Set the frame into an opening, center, and shim every 12 inches like a pre-hung unit.
- Drill pilot holes and drive screws into the framing.
Add Shims as Needed
- Shim behind hinges and lock strike plate for strength.
- Don’t over-shim – adjust for consistent frame reveal.
Install Door Jamb Stops
- Cut stop molding and nail into place along the inside of the frame.
- Miter cut stop ends to overlap neatly at corners.
Hang the Sliding or Hinged Door
- Follow the door manufacturer’s instructions to install and adjust the door correctly in the frame.
How to Install Exterior Door Frames
Follow these extra steps when framing an exterior doorway:
- Use pressure-treated lumber rated for outdoor use.
- Seal end grain and cut edges with primer to prevent moisture damage.
- Caulk between the frame and rough opening before nailing in place.
- Install wide exterior door trim and brick molding after the frame is secured.
- Overhangs and flashing help protect exterior doors from rain infiltration.
- Insulate around the frame with minimal expansion foam for better energy efficiency.
How to Finish a New Door Frame
Apply these finishes for a professional look:
- Wood putty – Fill any nail holes, cracks, or imperfections in the wood. Let dry completely.
- Sanding – Lightly sand the door jamb and stop molding with 120-150 grit sandpaper to smooth.
- Primer/Paint – Seal raw wood with oil-based primer before applying paint for protection.
- Door trim – Install door casing and molding around the frame to cover gaps. Miter corners.
- Silicone caulk – Caulk along the outside edge of the trim for a watertight seal. Use paintable caulk for a better look.
- Weatherstripping – Apply around the entire perimeter of the door jamb to seal air leaks. Make sure the door shuts smoothly.
- Door sweep – Install a vinyl sweep on the bottom of the door to seal the gap between the door and the threshold or floor.
Hanging a New Door in an Existing Frame
If you have an existing door frame that’s in good shape, it’s easy to hang a new slab door:
- Carefully remove the old door along with all hardware and trim.
- Inspect the frame for level and plumb. Adjust existing shims if needed.
- Make sure the stop molding is secure and sized properly for the new door thickness.
- Follow the door manufacturer’s directions for hinge placement. Mortise new hinge holes if required.
- Install the door, shim hinge side, and secure hinges into the jamb.
- Install new lockset and hardware. Test operation and make adjustments.
- Reinstall trim and caulk around the perimeter to prevent air and water infiltration.
That’s all there is to hanging a door in an old frame!
Common Door Frame Problems and Solutions

| Issue | Solution |
| Out of square frame | Adjust shims and tighten frame screws. |
| Gaps between frame and wall | Add extra shims in gap areas and fill with wood filler. |
| Cracks in jamb or stop | Fill cracks with wood filler. Refasten any loose molding. |
| Warped door slab | Return the door for replacement if the warping is severe. |
| Drafty door | Check the weatherstripping seal. Add or replace if needed. |
| Difficult to latch or close | Verify door size, trim alignment, and frame plumb. Adjust as needed. |
| Loose hinges | Fill old hinge mortises with wood dowels. Replace loose hinges. |
DIY Door Frame Tips and Tricks
Follow these tips:
- Choose straight, defect-free lumber when buying or cutting your boards. Warped or twisted wood will make your frame uneven.
- Allow your wood boards to acclimate to the temperature and humidity in your home before building the frame. This prevents future warping.
- Always pre-drill holes when nailing into end grain or hardwoods to prevent splitting. Use a nail set tool to countersink nail heads.
- Construct each frame piece a few inches longer than measured to allow for final trimming to the exact size during installation.
- Use a miter saw power miter box or guide for clean 45-degree angle end cuts that fit tightly.
- Double-check the measurements of your rough opening before constructing the frame for a precise fit.
- Write “top” and “bottom” on frame components before assembling so you don’t install upside down.
- Apply adhesive to mitered ends and secure with finish nails or corner braces for extra strength.
- Use painter’s tape on walls and floor when cutting and fitting the frame to prevent scratches.
- Install screws into wall studs, not just drywall, for sturdy frame attachment.
- Go slow when mortising for hinges to avoid cutting too deep into the door jamb.
- Buy a pre-hung door unit rather than assemble it separately for easier installation if you are new to DIY.
Those are my best tips and tricks for flawlessly building and installing door frames like a pro! Let me know if you need any clarification or have additional questions.
FAQs
Q: How much clearance should there be between the door and the frame?
A: A properly fitted door should have about 1/8″ clearance on the hinge and 1/16″ on the latch side. This allows the door to swing freely without rubbing or scraping against the jamb.
Q: What is the best way to shim a door frame?
A: Use tapered hardwood shims every 16-24 inches around the perimeter of the frame. Ensure shims are angled to fit tightly between the frame and rough opening. Gently tap them in place with a hammer.
Q: Should I use insulation foam around the door frame?
A: Minimal expanding foam can insulate and seal air gaps around exterior doors. However, please don’t overdo it, or the expansion pressure can warp the frame. Only use foam as specified by the door manufacturer.
Q: How do I adjust a door that sticks or won’t close?
A: If a door sticks, first check for the level and plumb of the frame. Adjust shims if needed. Also, inspect for warped boards, loose hinges, or misaligned trim. Sanding the edge can help with a sticking door.
Q: What is the best way to install door casing trim?
A: Measure and cut casing to fit the perimeter of the frame. Use a miter saw to clean corner joints. Nail the trim in place, using spacers to set the ideal reveal depth. Fill nails, caulk corners, and paint for best results.
Last Thoughts
In crafting the perfect door frame, we’ve built a physical passage and woven together security, style, When faced with a frozen house door lock, delve into the practicality threads of unlocking methods; as we conclude our exploration of door frame construction, it’s crucial to recognize that amidst the nuts and bolts, the gateway to a harmonious blend of craftsmanship and convenience awaits. So, frame your entrances with pride, for in every swing and latch, you’ve created more than just a portal – you’ve opened the door to a world of possibilities.